guide
How to Compare Low, Medium, and High Outfit Contrast
Build three versions of one outfit, keep other differences as small as practical, and compare low, medium, and high relative value contrast.
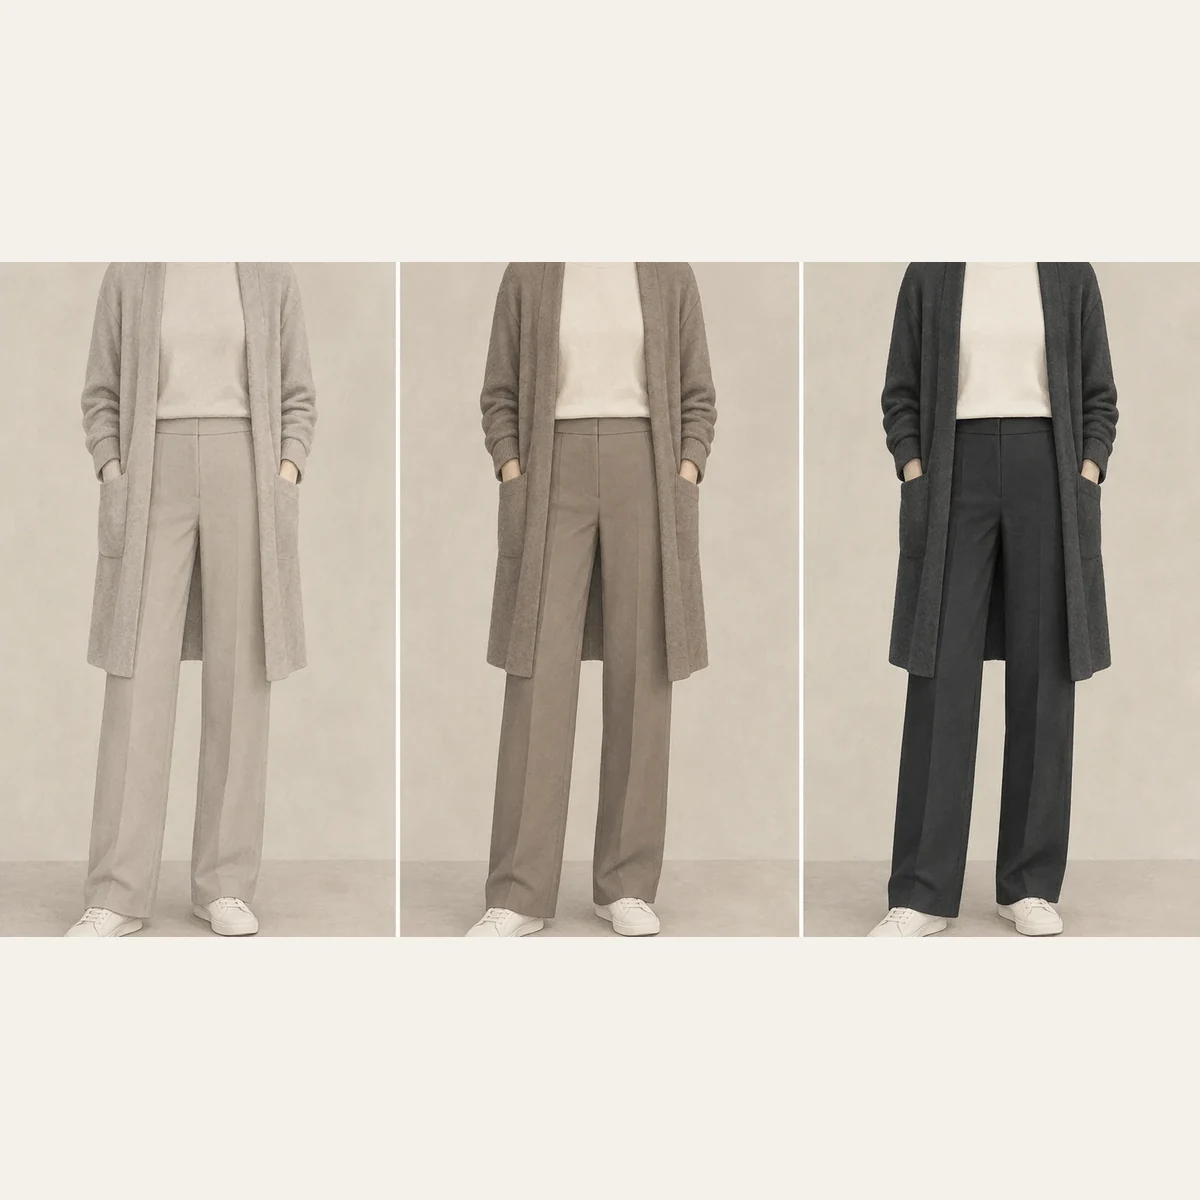
Pick one outfit structure: a top, an optional layer, and a bottom. Decide what you want it to do in a specific setting. Then make versions with relatively closer, middle, and wider light-dark spacing across the main visible garment areas.
Keep the garment roles, silhouette, visible area, hue family, chroma, print, texture or sheen, and viewing conditions as similar as practical. If the versions do not match perfectly, write down meaningful differences. Compare the whole outfits side by side and make a provisional choice for that occasion.
Here, low, medium, and high describe the closer, middle, and wider light-dark spacing within the outfits you are comparing.
The tempting shortcut: let your season choose
A seasonal palette can suggest where to start: softer combinations often suit muted palettes, while clearer light-dark separation can work well with Winter or bright palettes. The outfit and occasion still matter.
Keep natural facial contrast separate from the light-dark spacing among garments. If your question is about color families, use the 12-season color decision matrix, then choose the combination that gives the effect you want.
Investigate the variable you are actually changing
In the Munsell framework, value distinguishes a light color from a dark one. Hue distinguishes color families, while chroma describes color strength or distance from gray. This vocabulary helps separate three qualities that are easy to blur together.
For this article, value contrast means the relative light-dark separation among substantial visible garment areas. Look at the main area of the top, layer, and bottom. Find the lightest and darkest of those areas. Tiny trim, a narrow button edge, or a small accessory should not quietly determine the label for the whole outfit.
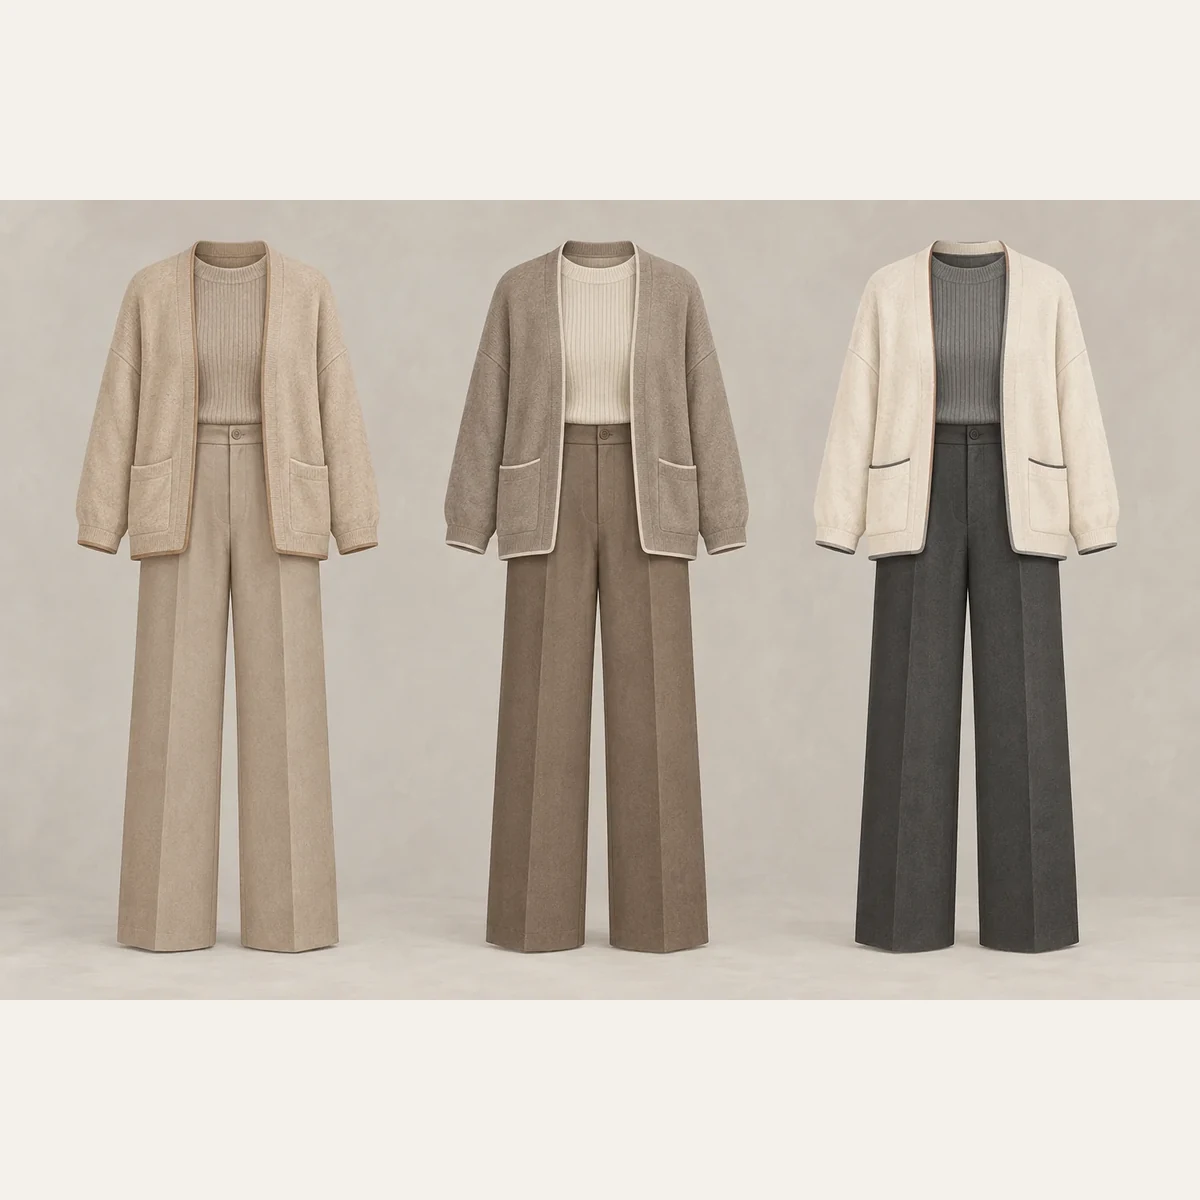
Hue and chroma remain separate. A blue top and a red top differ in hue. A vivid blue and a muted blue differ in apparent chroma. Either change may affect your response even if you meant to compare value spacing. Color count, print, fabric texture, sheen, fit, and the amount of each garment that remains visible can also change the comparison.
Use low, medium, and high as ordering labels inside one set. The version with the closest spacing is relatively lower. The version with more separation sits in the middle. The version with the widest spacing is relatively higher.
If saturation is the part that feels wrong, separate chroma from outfit contrast before changing more garments.
Editorial exercise: build one outfit three ways
- Name the occasion and effect. For example, decide whether you want a quiet, balanced, or graphic outfit for a presentation.
- Keep the structure. Note the top, optional layer, and bottom, their silhouette, and how much of each remains visible.
- Find the main value range. Identify the lightest and darkest substantial garment areas rather than tiny trim or accessories.
- Build three versions. Use closer garment values for low contrast, a larger step for medium contrast, and the widest spacing in your set for high contrast.
- Choose close substitutes. Keep hue family, chroma, print, texture, sheen, cut, and visible area as similar as practical. Note any important difference.
- Compare in consistent light. Keep camera position, framing, pose, and background similar if you photograph the outfits. View the versions side by side.
- Choose for the occasion. Write one short observation for each version and keep the one that gives the effect you want.
If you only have two suitable versions, compare those rather than buying a third outfit.
Reality check: the comparison will have limits
Fabric, hue, chroma, fit, visible area, lighting, and camera processing can change alongside value contrast, so use the exercise to choose an outfit rather than isolate one proven cause. NIST’s appearance discussion and OpenStax’s visual-analysis framework provide context, not tests of this home clothing exercise.
If the matches are imperfect, is the exercise still useful?
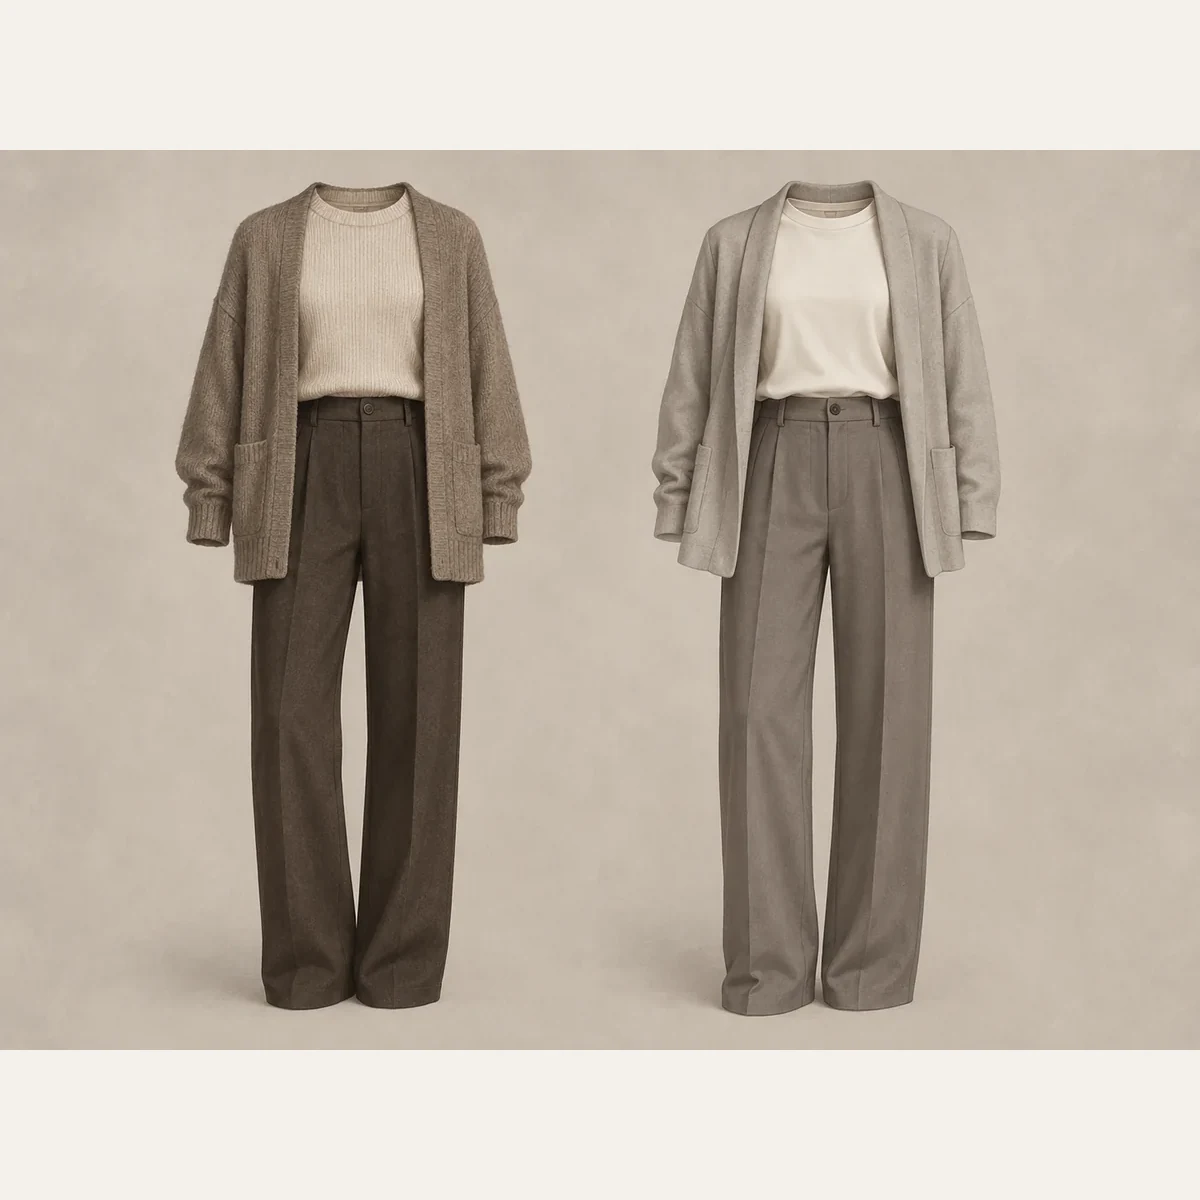
Yes, if the versions are close enough to help you choose. If several large differences distract from the comparison, use the closest two outfits or change just the top, cardigan, or trousers.
You can choose the wider-spaced version for a presentation and a quieter combination for another occasion. Keep a short note of the combination you preferred so you can use it again.
A hypothetical worked example
Imagine choosing a graphic-looking outfit for a presentation. Keep an open navy cardigan and navy straight-leg trousers, then vary the knit top:
- Lower contrast: a slate-blue top close in lightness to the navy pieces.
- Medium contrast: a lighter blue top with a clearer light-dark step.
- Higher contrast: a white top with the widest separation in this set.
For this example, the white top best fits the intended graphic effect. With your own clothes, check the actual shades and keep the fabric, fit, and visible area as similar as practical.
Choose, adjust, and stop
Choose the version that best supports the occasion and effect you named. If none works, change one garment role: try a lighter top, a deeper layer, or a different amount of the top showing beneath the jacket.
Keep the combination once it gives you an outfit you want to wear. There is no need to replace the rest of your wardrobe.
For the shared framework and its limits, see personal color method and limits.